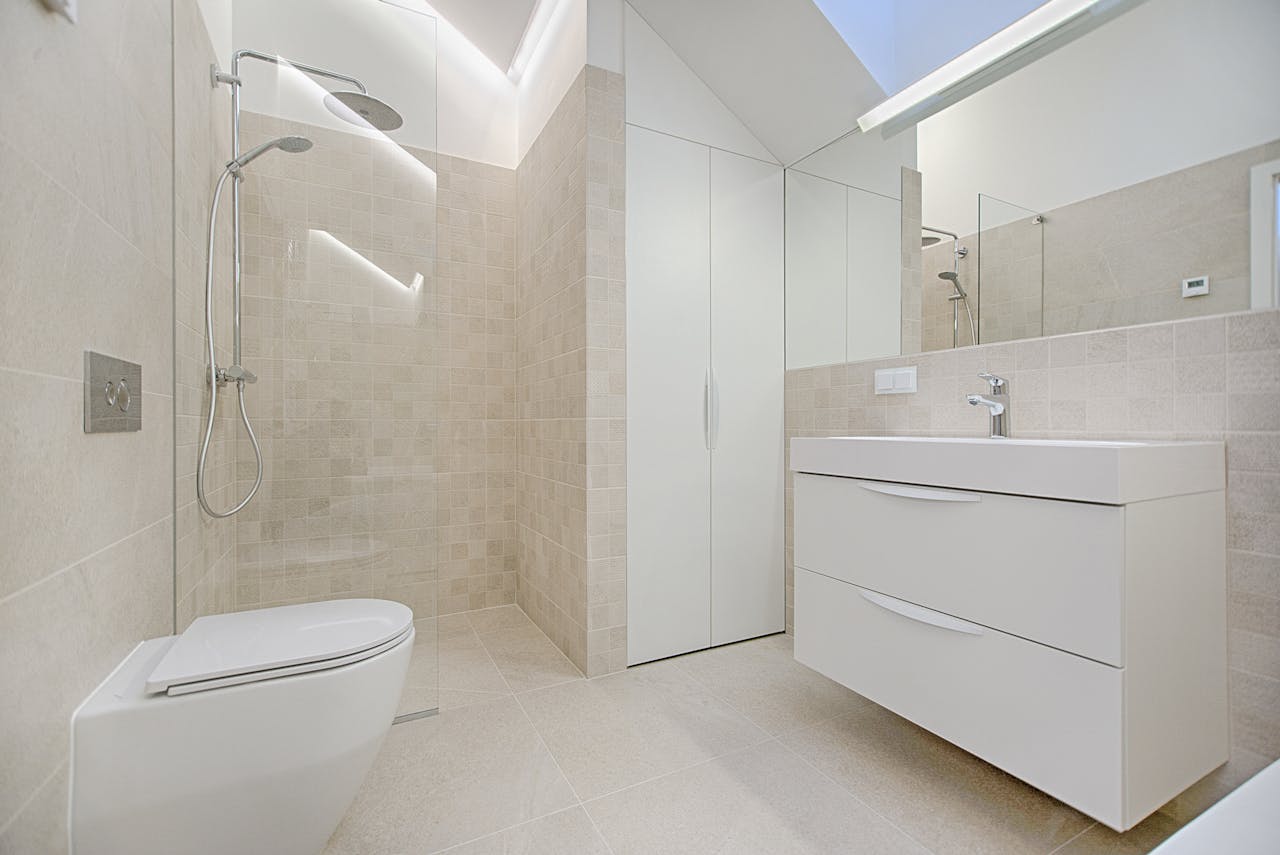
A well-installed shower pan liner is the unsung hero of a leak-free shower. Acting as a critical waterproof membrane beneath your mortar bed and tiles, it directs any water that seeps through the tile and grout towards the drain, preventing costly damage to your subfloor and the structure of your home. Oatey, a trusted name in plumbing, offers reliable shower pan liners that are a popular choice for DIY enthusiasts and professionals alike.
This in-depth guide will walk you through the entire process of installing an Oatey shower pan liner, from preparing your shower base to ensuring a watertight seal around the drain and corners. Follow these steps carefully to achieve a durable, leak-proof foundation for your beautiful new shower.
Why a Proper Shower Pan Liner Installation is Crucial
Ignoring the importance of a properly installed shower pan liner can lead to disastrous consequences down the line. Even small leaks can cause:
- Rot and Mildew: Water seepage can lead to wood rot in your subfloor and wall studs, as well as the growth of mold and mildew, which can be harmful to health and difficult to eradicate.
- Structural Damage: Over time, consistent moisture can compromise the structural integrity of your bathroom floor and joists.
- Costly Repairs: Fixing water damage is often far more expensive and disruptive than ensuring a correct liner installation from the start.
Tools and Materials You’ll Need
Before you begin, gather all the necessary tools and materials:
- Oatey Shower Pan Liner: Ensure you have enough to cover your shower base, extending up the walls at least 6 inches.
- Oatey PVC or CPE Shower Pan Liner Adhesive: Crucial for bonding seams and corners.
- Oatey Shower Drain (Clamping Ring Type): Essential for securing the liner to the drain.
- Utility Knife or Heavy-Duty Scissors: For precise cutting of the liner.
- Tape Measure: For accurate measurements.
- Staple Gun and Stainless Steel Staples (3/8″ or 1/2″): For securing the liner to the studs.
- Hammer: For tapping staples if needed.
- Pencil or Marker: For marking cuts.
- Clean Rags or Sponges: For wiping up adhesive.
- Small Roller or Hand Pressure Roller: To ensure good adhesion on seams.
- Personal Protective Equipment (PPE): Gloves, safety glasses.
- Pre-Slope Mortar Mix: For creating the initial sloped bed (not part of liner installation but a critical preceding step).
- Trowel or Float: For spreading mortar.
Pre-Installation Preparation: The Crucial First Steps
Before the liner goes down, your shower base needs to be properly prepared.
- Framing and Subfloor:
- Ensure your shower area is framed out correctly, with solid blocking for the curb.
- The subfloor should be clean, dry, and structurally sound. Address any loose boards or damage.
- Install the Shower Drain:
- Position your clamping ring shower drain assembly. The drain flange should be flush with or slightly below the top of the subfloor.
- Secure the drain body to the subfloor according to the manufacturer’s instructions.
- Create the Pre-Slope Mortar Bed:
- This is a critical step often overlooked by DIYers. A pre-slope ensures that any water that penetrates the tile and mortar bed above the liner is directed to the drain, not allowed to sit on the liner.
- Mix a wet-pack mortar (often a 4:1 sand to Portland cement mix, or use a pre-bagged dry-pack mortar mix).
- Apply a thin, sloped mortar bed, typically 1/4 inch per foot, from the perimeter walls down to the drain. The mortar bed should be thick enough at the drain to be flush with the top of the drain’s lower clamping ring.
- Allow this pre-slope to cure completely (24-48 hours, or as per mortar instructions) before proceeding with the liner installation.
Step-by-Step Oatey Shower Pan Liner Installation
With your pre-slope cured, you’re ready to install the liner.
Step 1: Measure and Cut the Liner
- Measure the Shower Base: Measure the length and width of your shower area, ensuring to account for the curb and extending the liner at least 6 inches up the studs on all sides.
- Add for the Curb: If you have a curb, add enough material to go over the top and down the outside face of the curb by about an inch or so.
- Cut the Liner: Lay the Oatey shower pan liner flat in an open area. Use your tape measure and marker to mark your dimensions, then carefully cut the liner using a utility knife or heavy-duty scissors. Aim for slightly oversized rather than undersized.
Step 2: Position the Liner in the Shower Base
- Lay it Flat: Carefully place the cut liner into the shower base, pressing it down to conform to the pre-sloped mortar bed.
- Smooth Out Wrinkles: Work from the center towards the edges, smoothing out any wrinkles or creases. The liner should lay as flat as possible against the pre-slope.
Step 3: Cut the Drain Opening
This is a critical step for a watertight seal.
- Locate the Drain: With the liner in place, locate the center of the drain from underneath or by feel.
- Make a Small “X” Cut: Carefully make a small “X” cut directly over the drain opening. Start small, as you can always enlarge it.
- Trim to Size: Gradually enlarge the “X” cut until the liner can be pulled down and over the drain’s lower clamping ring bolts. The liner should sit directly on the lower clamping ring.
Step 4: Secure the Liner to the Drain
This is where the clamping ring drain earns its keep.
- Position Liner Over Bolts: Ensure the liner is fully seated over the bolts of the lower clamping ring.
- Install the Clamping Ring: Place the upper clamping ring (or “clamping collar”) of the drain assembly over the liner, aligning the bolt holes.
- Tighten Nuts: Securely tighten the nuts onto the bolts, sandwiching the liner firmly between the two clamping rings. This creates a watertight seal around the drain. Do not overtighten, but ensure it’s snug.
Step 5: Fold and Secure Corners
Corners are potential leak points if not handled correctly. Do not cut the liner at the inside corners of the shower.
- Fold and Crease: At each inside corner where the wall meets the floor, carefully fold and crease the liner to form a neat, watertight corner. Think of it like wrapping a present, creating a “hospital corner” effect. The fold should run vertically up the wall.
- Adhere the Fold (Optional but Recommended): While Oatey liners are flexible, applying a bead of Oatey PVC/CPE liner adhesive along the folded seam can provide extra security. Press firmly.
- Staple the Liner to the Studs: Extend the liner at least 6 inches up the wall studs. Use your staple gun and stainless steel staples to secure the liner to the studs, approximately 1 inch from the top edge of the liner. Important: Staple only in the area above the finished shower curb height. You want to avoid puncturing the liner below this point.
Step 6: Install the Curb Liner (If Applicable)
- Cut for the Curb: Carefully cut the liner to go over the curb, down the outside face, and tuck underneath the first course of outside tile. Make relief cuts at the base of the curb to allow the liner to lay flat.
- Fold Corners: At the corners of the curb, treat them like outside corners. You’ll make careful cuts to allow the liner to fold neatly around the corner without creating gaps.
- Adhere and Seal: Use Oatey PVC/CPE liner adhesive to bond any overlapping seams on the curb. Ensure a continuous, watertight membrane over the entire curb.
Step 7: Overlap and Adhere Seams (If Needed)
If your shower area is larger than a single piece of liner, you’ll need to create watertight seams.
- Overlap: Overlap the two pieces of liner by at least 2 inches.
- Apply Adhesive: Apply a generous bead of Oatey PVC/CPE liner adhesive between the overlapped sections.
- Press and Roll: Press the two pieces together firmly, using a small roller or applying hand pressure to ensure a strong, continuous bond. Wipe away any excess adhesive.
Step 8: Perform a Water Test (Crucial!)
Before installing the final mortar bed and tile, a water test is mandatory.
- Plug the Drain: Use a test plug or stopper to seal the shower drain.
- Fill with Water: Fill the shower pan with water up to the level of the shower curb (or just below the top edge of the liner on the walls).
- Wait and Inspect: Let the water sit for at least 24 hours (48 hours is even better). Periodically check the subfloor below the shower and any adjacent walls for signs of leakage or dampness.
- Drain and Proceed: If no leaks are detected, you’ve successfully installed your liner! Drain the water and proceed to the final mortar bed and tiling. If you find leaks, you must locate the source, repair it, and re-test.
Post-Installation Considerations
- Final Mortar Bed: Once the water test is complete and passed, you’ll install the final mortar bed over the liner. This bed will also be sloped towards the drain, typically with a minimum thickness of 1-1.5 inches at the perimeter.
- Tile Installation: After the final mortar bed cures, you can proceed with tile installation.
- Curb Protection: Protect the top of the curb from direct water exposure until it is tiled and grouted.
Troubleshooting Common Issues
- Wrinkles: Try to smooth them out as much as possible during initial placement. Minor wrinkles, especially in corners, are acceptable as long as they don’t compromise the integrity of the liner or the slope.
- Punctures: If you accidentally puncture the liner (e.g., with a dropped tool), patch it immediately using a piece of the liner and Oatey liner adhesive, ensuring a generous overlap on all sides.
- Leaking During Water Test: Re-check the drain connection, all seams, and especially the corners. Look for unadhered folds or cuts.
By following these detailed Oatey shower pan liner installation instructions, you’ll create a robust, watertight foundation for your shower that will protect your home for years to come. Take your time, pay attention to the details, and don’t skip the crucial water test!


Leave a Reply