Water treatment systems, such as water softeners, whole-house filters, and iron filters, are invaluable for providing clean, safe water throughout your home. However, like any appliance, they require maintenance, repairs, or occasional periods of being taken offline. This is where a bypass valve becomes an indispensable component.
What is a Bypass Valve?
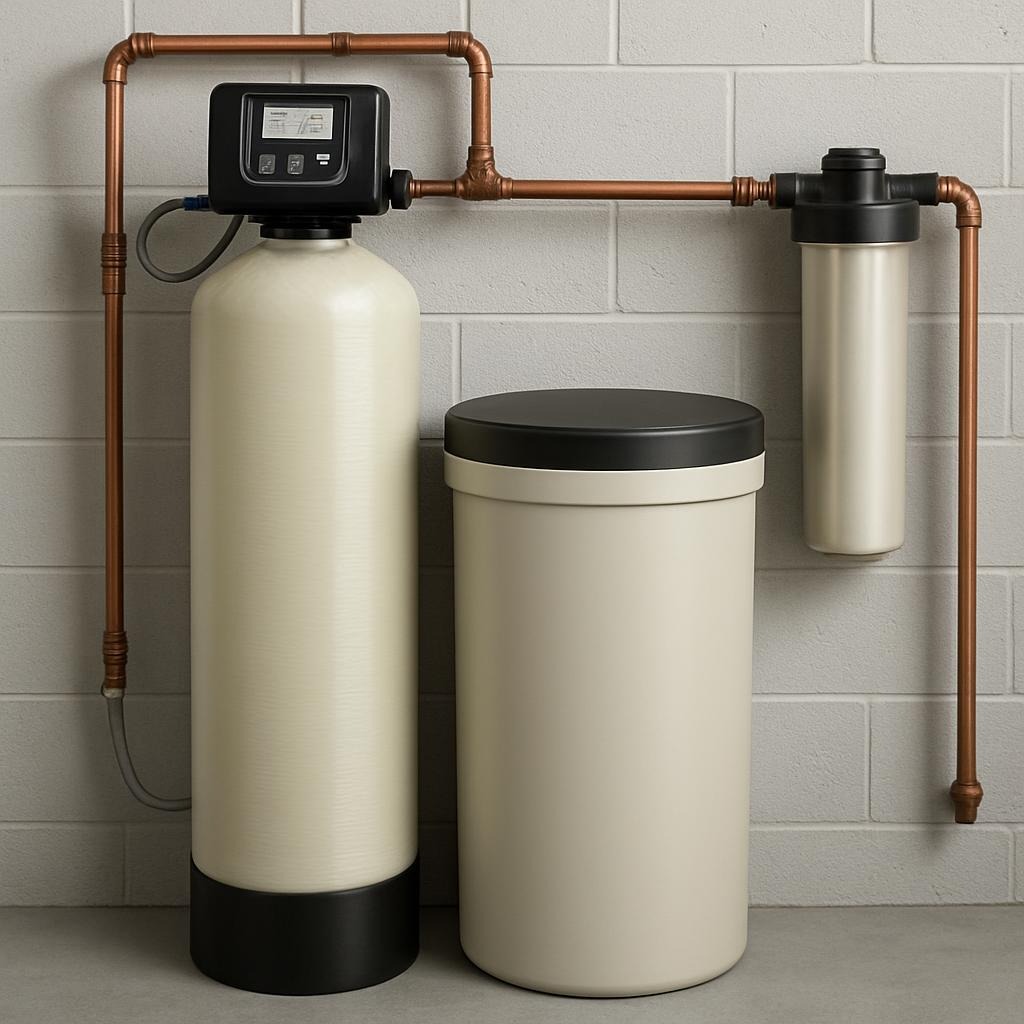
A bypass valve is a plumbing device that allows you to temporarily redirect the flow of water around your water treatment system, rather than through it. Think of it as a detour for your water supply. When engaged, raw (untreated) water flows directly into your home’s plumbing, while the water treatment unit is isolated.
Why is a Bypass Valve Essential? Key Benefits
Installing a bypass valve offers numerous advantages, ensuring continuous water supply and protecting your investment in water treatment:
- Uninterrupted Water Supply During Maintenance: This is perhaps the most significant benefit. When your water treatment system needs a filter change, resin replacement, or other routine maintenance, you can simply engage the bypass valve. This allows you to perform the necessary work without cutting off water to your entire home. You’ll still have water for showering, flushing toilets, and other essential tasks, albeit untreated.
- Facilitates Repairs and Troubleshooting: If your water treatment system develops a leak, malfunction, or requires professional service, a bypass valve allows you to isolate the unit quickly. This prevents further damage, helps in diagnosing issues, and keeps your household supplied with water while repairs are underway.
- Protects Your System from Harsh Chemicals: During certain plumbing activities, such as well chlorination or pipe disinfection, harsh chemicals might be introduced into your water supply. Bypassing your water treatment system during these times prevents these chemicals from damaging sensitive components like resin beds or filter media.
- Conserving Filter Life: For certain situations, like watering outdoor plants or filling a swimming pool, treated water isn’t necessary. Bypassing the system during these high-volume, non-potable water uses can extend the lifespan of your filters and media, saving you money on replacements.
- Temporary Disuse: If you’re going away on an extended vacation, bypassing your system can prevent unnecessary wear and tear, and potentially reduce water usage by the system’s regeneration cycles.
- Emergency Shut-off: In the event of a severe leak or catastrophic failure of your water treatment unit, the bypass valve acts as a quick shut-off, minimizing water damage to your home.
Types of Bypass Valves
Bypass valves come in various designs, but the most common types found in residential water treatment systems include:
- Integrated Bypass Valve: Many modern water treatment systems come with a bypass valve built directly into the control head or manifold of the unit. These often feature a single lever, knob, or push-button mechanism to switch between “service” (water flowing through the system) and “bypass” modes.
- Three-Valve Bypass (DIY or Separate Kit): This is a common configuration where three individual ball valves are installed on the plumbing lines around the water treatment unit, forming an “H” shape.
- Valve 1 (Inlet): Controls water flow into the treatment system.
- Valve 2 (Outlet): Controls water flow out of the treatment system.
- Valve 3 (Bypass Line): Controls water flow around the treatment system. To put the system in bypass mode, you close Valve 1 and Valve 2, and open Valve 3. To resume normal operation, you open Valve 1 and Valve 2, and close Valve 3.
- Rotary Bypass Valve: Often found in older systems, these valves feature a handle that you turn to open or close the bypass.
- Slide Bypass Valve: Common in newer models, these valves operate by pushing or pulling a lever.
- Push-Button Bypass Valve: The most convenient type, found in premium systems, allowing for bypass activation with a simple button press.
Step-by-Step Guide: Bypass Valve Installation
While the exact steps may vary slightly depending on your specific water treatment system and bypass valve type, this general guide provides a comprehensive overview for a three-valve bypass setup, which is common for DIY installations.
Before You Begin:
- Gather Your Tools:
- Pipe cutter or hacksaw
- Measuring tape
- Marker or pencil
- Sandpaper or reaming tool (for deburring pipes)
- Adjustable wrenches or pipe wrenches
- Teflon tape or pipe thread sealant
- Buckets or towels to catch residual water
- Gloves and safety glasses
- Identify Water Flow Direction: Determine which pipe is the incoming water line and which is the outgoing line from your main water supply.
- Read Manufacturer’s Instructions: Always consult the instructions provided with your specific bypass valve and water treatment system.
Installation Steps:
- Choose the Ideal Location:
- The bypass valve should be installed as close as possible to the water treatment unit (e.g., water softener, whole-house filter).
- Ensure there’s enough space to comfortably operate the valves and perform future maintenance on the treatment system.
- It should be easily accessible.
- Shut Off Main Water Supply:
- Locate your home’s main water shut-off valve (usually near where the main water line enters your house).
- Turn it completely off to stop all water flow into your home.
- Open a faucet (preferably the lowest one in your home, like a basement utility sink) to relieve any pressure in the pipes and drain residual water.
- Drain the System (If Applicable):
- If you’re installing the bypass on an existing water treatment system, drain the unit according to its manufacturer’s instructions. This usually involves opening a drain valve on the unit.
- Prepare the Pipes:
- Measure and mark the sections of pipe where the bypass valves will be installed. You’ll need to cut out a section of the main water line to accommodate the bypass assembly.
- Ensure your measurements are accurate to avoid needing extra fittings or having a difficult fit.
- Use a pipe cutter or hacksaw to carefully cut the marked sections of the pipe. Have buckets or towels ready to catch any remaining water.
- Deburr and clean the cut edges of the pipes using sandpaper or a reaming tool. This ensures a smooth connection and prevents leaks.
- Assemble the Bypass Valve Assembly:
- If using a three-valve bypass kit, assemble the valves and fittings according to the manufacturer’s diagram (typically forming an “H” shape).
- Apply Teflon tape or pipe thread sealant to all threaded connections to ensure a watertight seal. Wrap the tape clockwise around the threads.
- Connect the Bypass Assembly:
- Carefully attach the bypass valve assembly to the cut pipes. Depending on your plumbing, this may involve compression fittings, sweat soldering (for copper pipes, requiring professional skills), or PEX crimp connections.
- Ensure all connections are snug and secure, but avoid over-tightening, which can damage fittings.
- Test for Leaks (Initial Fill):
- With the water treatment unit still isolated (bypass engaged for a three-valve setup: inlet and outlet valves closed, bypass valve open), slowly turn the main water supply back on.
- Carefully inspect all new connections for any signs of leaks. Tighten connections as needed.
- Allow water to run for a few minutes to flush out any debris from the installation process.
- Engage the Water Treatment System:
- Once you’re confident there are no leaks and the bypass line is functioning correctly, you can switch the system back to “service” mode.
- For a three-valve setup: Close the bypass valve and open the inlet and outlet valves slowly.
- For integrated valves: Switch the lever, knob, or press the button to the “service” or “on” position.
- Again, check for any new leaks around the water treatment unit’s connections.
- Flush the System (Post-Installation):
- Run water through a few faucets in your home (start with cold water, then hot) to fully flush out any air or loose particles introduced during installation. This also helps to ensure proper water flow through your newly connected treatment system.
Operating Your Bypass Valve
To Bypass the Water Treatment System:
- Integrated Valve: Turn the lever/knob or press the button to the “bypass” position (consult your manual for specific indications).
- Three-Valve Bypass:
- Close the inlet valve (perpendicular to the pipe).
- Close the outlet valve (perpendicular to the pipe).
- Open the middle bypass valve (parallel to the pipe).
To Return to Service (Water Flowing Through Treatment System):
- Integrated Valve: Turn the lever/knob or press the button to the “service” or “on” position.
- Three-Valve Bypass:
- Close the middle bypass valve (perpendicular to the pipe).
- Open the inlet valve (parallel to the pipe).
- Open the outlet valve (parallel to the pipe).
Troubleshooting Common Bypass Valve Issues
- Leaking Valve:
- Cause: Loose connections, worn seals/gaskets, or corrosion.
- Solution: Tighten connections. If leaks persist, the seals or the valve itself may need to be replaced. For integrated valves, consult your system’s manual or a professional.
- Stiff or Difficult to Turn Valve:
- Cause: Sediment buildup, lack of lubrication, or old age.
- Solution: Reduce water pressure by opening a nearby faucet. Gently tap the valve with a rubber mallet. If it’s a ball valve, try working it back and forth gently. Lubrication might be needed for some types. If severe, replacement may be necessary.
- No Water Flow (or greatly reduced flow) in Bypass Mode:
- Cause: Bypass valve not fully open, or one of the inlet/outlet valves is still partially open (in a three-valve setup).
- Solution: Double-check that the bypass valve is fully engaged and all other valves are in their correct positions for bypass mode.
- Untreated Water Flowing in Service Mode:
- Cause: Bypass valve is partially open, or inlet/outlet valves are not fully open.
- Solution: Ensure the bypass valve is completely closed and the inlet/outlet valves are fully open.
Maintenance Tips for Your Bypass Valve
While bypass valves are generally robust, a little maintenance can ensure their longevity and proper function:
- Regular Operation: Even if you don’t need to bypass your system frequently, it’s a good idea to cycle the valve through its open and closed positions a few times a year. This helps prevent seizing and keeps the internal components lubricated.
- Inspect for Leaks: Periodically check the valve and surrounding connections for any signs of drips or moisture. Address any leaks promptly.
- Keep Clean: Ensure the area around the valve is free from dirt, debris, or excessive moisture that could lead to corrosion.
Leave a Reply