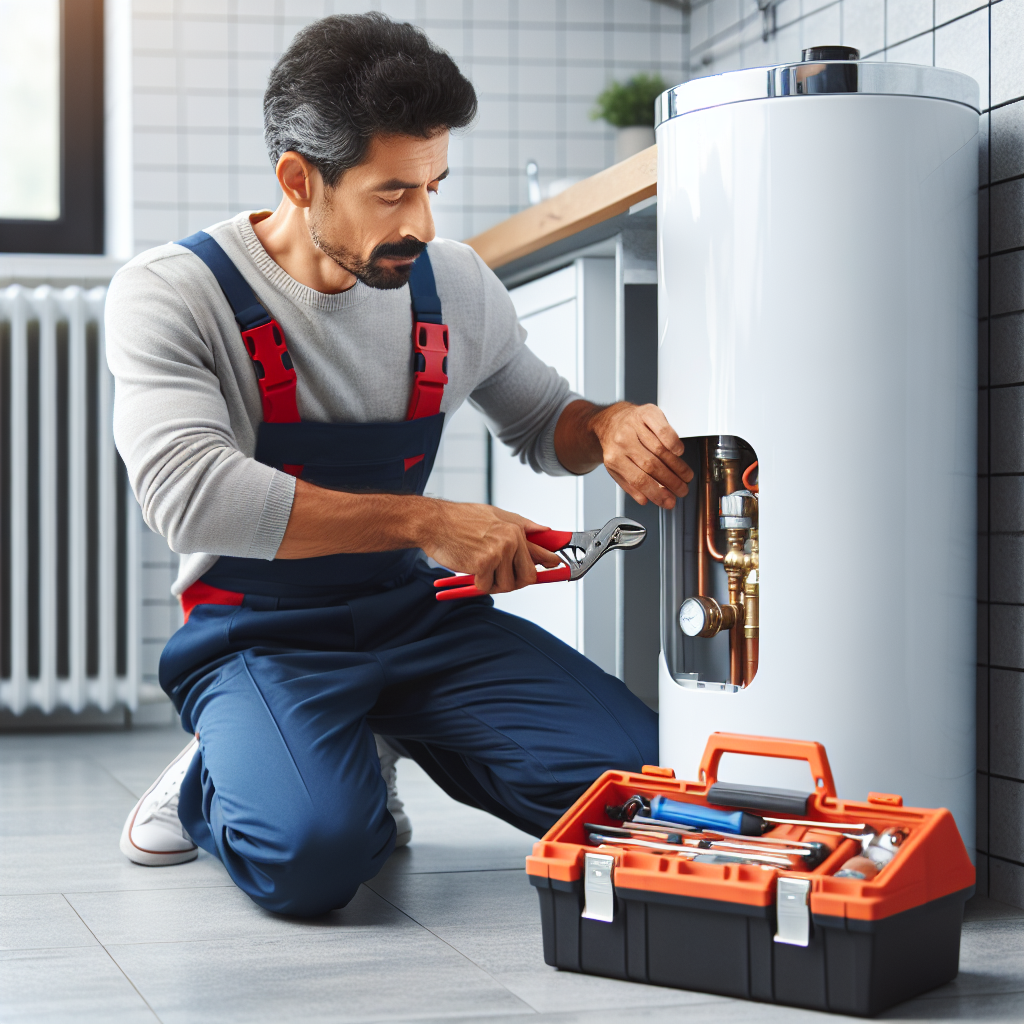
There are few things more frustrating than stepping into what you expect to be a warm, comforting shower, only to be met with an icy blast. A lack of hot water is a common and inconvenient plumbing problem, but often, it’s something you can diagnose and even fix yourself without calling a professional. This in-depth guide will walk you through the most common culprits behind a lack of hot water, providing step-by-step troubleshooting for both electric and gas water heaters.
Before You Begin: Safety First!
Working with water heaters involves both electricity and gas. Always prioritize your safety.
- Electric Water Heaters: Before touching any electrical components, ALWAYS turn off the power to the water heater at your home’s main electrical panel (breaker box). This is typically a double-pole breaker labeled “Water Heater.”
- Gas Water Heaters: Ensure the area is well-ventilated. If you smell gas, immediately evacuate the premises, do not touch any electrical switches, and call your gas company from a safe location. Do not attempt to light the pilot if you suspect a gas leak.
- Burns: Hot water and heating elements can cause severe burns. Exercise caution.
I. General Troubleshooting Steps (Applies to Both Electric and Gas Water Heaters)
Before diving into specific types of water heaters, let’s cover some universal checks.
- Is the Water Heater On?
- Pilot Light (Gas): If you have a gas water heater, check if the pilot light is lit. If not, this is a very common reason for no hot water. (See Section III for relighting instructions).
- Power (Electric): For electric water heaters, confirm that the circuit breaker for the water heater hasn’t tripped. Go to your electrical panel and look for a tripped breaker (it will be in the “off” or middle position). Flip it completely off, then back to the “on” position.
- Has Your Hot Water Demand Increased?
- If you’ve recently had guests, done multiple loads of laundry, or run a dishwasher simultaneously with showers, you might have simply depleted your hot water supply. Wait an hour or two for the tank to reheat.
- Tank Size: Consider if your water heater is adequately sized for your household’s needs. If this is a recurring issue, you might need a larger tank.
- Check the Temperature Setting:
- The thermostat on your water heater controls the water temperature. It might have been accidentally lowered.
- Location: For gas water heaters, the thermostat dial is usually on the front of the gas valve. For electric water heaters, you’ll need to remove the access panels to find the thermostats, which are often behind insulation.
- Recommended Temperature: Most experts recommend a temperature setting of 120°F (49°C) to prevent scalding while still providing enough hot water. If it’s set too low, turn it up gradually and wait a while to see if the water heats up.
- Are Only Some Faucets Lacking Hot Water?
- If you have hot water at some faucets but not others, the problem is likely with the individual faucet or its specific hot water supply line, not the water heater itself. Check the aerators for clogs.
- Check for Leaks:
- A significant leak can prevent the tank from properly heating water, as cold water constantly enters to replace the lost water. Inspect the area around your water heater for any signs of water.
II. Electric Water Heater Troubleshooting: No Hot Water
Electric water heaters use heating elements to warm the water. If you have no hot water with an electric unit, the issue almost always lies with the electrical supply or the heating elements/thermostats.
1. Tripped Breaker: * Action: Go to your main electrical panel. Locate the circuit breaker for your water heater (usually a 240-volt double breaker). If it’s in the tripped (middle) or OFF position, flip it completely OFF, then firmly back ON. * Why it happens: Overloads, short circuits, or a failing heating element can cause a breaker to trip. If it trips repeatedly, there’s a more serious electrical issue that needs professional attention.
2. Reset Button: * Location: Electric water heaters have one or two high-limit reset buttons, typically located on the upper thermostat (and sometimes the lower). You’ll need to remove the access panels and insulation to find them. * Action: Press the red reset button firmly. You might hear a click. If it pops out again immediately, there’s an underlying problem (e.g., faulty thermostat or heating element). * Why it trips: The high-limit switch is a safety feature that trips if the water temperature inside the tank gets dangerously high. This could be due to a faulty thermostat or a short in the heating element.
3. Faulty Heating Elements: * Symptoms: * No hot water at all. * Lukewarm water (one element might be out, while the other is still working). * Breaker tripping repeatedly. * Diagnosis (requires a multimeter and electrical knowledge): 1. TURN OFF POWER AT THE BREAKER PANEL. 2. Remove the access panels for both the upper and lower elements. 3. Pull back the insulation. 4. Disconnect one of the wires from each terminal of the heating element (this isolates it for testing). 5. Set your multimeter to the Rx1 (ohms) setting. 6. Touch the probes to the two screw terminals on the heating element. 7. Reading: * Good Element: You should get a resistance reading between 10 and 30 ohms (the exact reading depends on the element’s wattage). * Bad Element: An “open circuit” (infinite resistance or no reading) or a very low reading indicates a bad element. 8. Also, check for a short to ground by touching one probe to a terminal and the other to the metal casing of the element. You should get no reading (infinite resistance). If you get a reading, the element is shorted and needs replacement. * Repair: If an element is faulty, it needs to be replaced. This involves draining the tank, unbolting the old element, and installing a new one. This is a moderately difficult DIY task; if you’re not comfortable with plumbing and electrical work, call a professional.
4. Faulty Thermostats: * Symptoms: * No hot water (both thermostats could be bad, or the upper one). * Lukewarm water (one thermostat might be faulty, or the lower one). * Water is too hot (thermostat isn’t regulating correctly). * Diagnosis (requires a multimeter): 1. TURN OFF POWER AT THE BREAKER PANEL. 2. Remove the access panels and insulation to expose the thermostats. 3. Test for continuity across the thermostat’s terminals (refer to your water heater’s wiring diagram, usually found on the inside of the access panel, for specific terminal locations). 4. Reading: * Good Thermostat: Should show continuity (a very low resistance reading) when the temperature is below its set point. * Bad Thermostat: An open circuit (infinite resistance) indicates a faulty thermostat. * Repair: Replace the faulty thermostat. This also involves disconnecting wires and removing screws. Label wires before disconnecting them!
5. Loose Wiring: * Action: With the power OFF at the breaker, carefully inspect all wiring connections to the elements and thermostats. Look for any loose or burnt wires. Tighten any loose connections.
III. Gas Water Heater Troubleshooting: No Hot Water
Gas water heaters rely on a pilot light, thermocouple, gas valve, and burner assembly to heat water. Most “no hot water” issues stem from problems with these components.
1. Pilot Light Out: * Most Common Cause: This is by far the most frequent reason for a gas water heater to stop producing hot water. * Action (Relighting the Pilot): 1. Locate the Gas Control Valve: This is typically a box on the front of the water heater with settings for “OFF,” “PILOT,” and “ON.” 2. Turn to OFF: Rotate the dial to the “OFF” position and wait 5-10 minutes. This allows any residual gas to dissipate. 3. Turn to PILOT: Rotate the dial to the “PILOT” position. 4. Press and Hold: Firmly press and hold down the “PILOT” button (or the gas control knob itself, depending on the model). 5. Ignite: While holding the pilot button, press the igniter button repeatedly (or use a long lighter/match through the small viewing window, if your unit doesn’t have an igniter) until you see the pilot flame ignite. 6. Continue Holding: Once lit, continue to hold the pilot button for another 30-60 seconds. This allows the thermocouple to heat up and generate a small electrical current. 7. Release: Slowly release the pilot button. The pilot flame should remain lit. If it goes out, repeat the process. If it consistently goes out, the thermocouple is likely the culprit. 8. Turn to ON: Once the pilot is stable, turn the gas control dial from “PILOT” to “ON.” The main burner should ignite shortly thereafter. * Why it goes out: Drafts, a faulty thermocouple, or a dirty pilot orifice can cause the pilot to extinguish.
2. Faulty Thermocouple: * Function: The thermocouple is a safety device that senses the pilot flame. If it doesn’t sense a flame, it tells the gas control valve to shut off the gas supply to prevent uncombusted gas from accumulating. * Symptoms: The pilot light won’t stay lit after you release the pilot button, or it keeps going out shortly after being lit. * Diagnosis: If you’ve tried relighting the pilot multiple times and it won’t stay lit, the thermocouple is the most probable cause. * Repair: Replacing a thermocouple is a relatively straightforward DIY task, but requires careful handling. 1. TURN OFF GAS SUPPLY: Turn the gas control valve to “OFF” and turn off the main gas supply valve to the water heater. 2. Disconnect: Use a wrench to disconnect the thermocouple’s copper tube from the gas control valve. 3. Remove: Follow the thermocouple tube down to the pilot assembly and carefully remove it. 4. Install New: Install the new thermocouple in reverse order, ensuring a snug but not overtightened connection at the gas valve.
3. Faulty Gas Control Valve (Thermostat/Gas Valve Unit): * Symptoms: * Pilot light stays lit, but the main burner won’t ignite when you turn the dial to “ON.” * The pilot light won’t light at all, even when you press the pilot button. * You hear a “clicking” sound when trying to light the pilot, but no gas flows. * The water is not getting hot, even though the pilot and burner appear to be working (the valve isn’t regulating temperature correctly). * Diagnosis: If you’ve ruled out the pilot and thermocouple, and the burner isn’t igniting, the gas control valve is likely faulty. This is a more complex and expensive part to replace. * Repair: Replacing a gas control valve requires significant expertise and should ideally be done by a licensed plumber or HVAC technician. Incorrect installation can lead to dangerous gas leaks.
4. Clogged Pilot Orifice/Burner Assembly: * Symptoms: Weak, yellow, or flickering pilot flame; main burner doesn’t ignite or burns inefficiently. * Diagnosis: Visually inspect the pilot opening and the main burner for dust, dirt, or debris. * Repair: You can try to gently clean the pilot orifice with a thin wire (like from a paperclip, but be very careful not to enlarge the opening). For a clogged burner assembly, you might need to remove and clean it, which can be more involved.
5. Flammable Vapor Sensor (FVIR) System Issues: * Modern gas water heaters often have a Flammable Vapor Ignition Resistance (FVIR) system. This system is designed to prevent flammable vapors from igniting outside the combustion chamber. * Symptoms: Water heater short cycles, pilot light goes out frequently, or the main burner doesn’t ignite. * Causes: Dust, lint, or pet hair can clog the combustion air intake screen at the bottom of the water heater, preventing proper airflow. * Action: Inspect the combustion air intake screen at the base of the water heater. Carefully clean any debris or lint using a vacuum cleaner with a brush attachment. Never use a wire brush or anything that could damage the screen. * Note: If the FVIR system consistently trips, or if you suspect it’s faulty, professional diagnosis is recommended as it’s a safety feature.
6. Draft Issues / Exhaust Vent Blockage: * Symptoms: Pilot light frequently goes out, or the main burner struggles to stay lit. You might smell a faint gas odor or observe backdrafting (combustion gases spilling into your home). * Diagnosis: Check the vent pipe (flue) coming off the top of the water heater for any obstructions (e.g., bird nests, debris, kinks). Ensure the vent pipe is properly connected and sealed. * Safety: If you suspect a vent blockage or backdrafting, call a professional immediately. Carbon monoxide poisoning is a serious risk.
IV. Advanced Troubleshooting & When to Call a Professional
If you’ve gone through the steps above and still have no hot water, or if you encounter any of the following, it’s time to call a qualified plumber or HVAC technician:
- Repeatedly Tripping Breakers (Electric): This indicates a significant electrical issue that could be dangerous.
- Smelling Gas: IMMEDIATELY EVACUATE AND CALL YOUR GAS COMPANY.
- Water Leaks from the Tank: A leaking tank usually means the tank itself has corroded and needs to be replaced. This is generally not repairable.
- Burned Wires or Components (Electric): Indicates a serious electrical fault.
- No Pilot Light Despite Proper Procedure (Gas): If you can’t get the pilot to light at all, and you’re sure you’re following the instructions correctly, it points to a faulty gas control valve.
- Main Burner Won’t Ignite (Gas) After Pilot is Lit: Again, a strong indicator of a faulty gas control valve.
- Black Soot or Residue Around Burner (Gas): Sign of incomplete combustion, which can produce carbon monoxide.
- Anode Rod Issues: While not directly related to “no hot water,” a depleted anode rod can lead to premature tank failure. A plumber can inspect and replace it.
- Sediment Buildup: Over time, sediment can accumulate at the bottom of the tank, reducing efficiency and potentially causing strange noises. While you can drain and flush a water heater yourself, a professional can do a more thorough job if sediment is a major problem.
- Old Water Heater: If your water heater is over 10-12 years old, it might be nearing the end of its lifespan. Replacing it might be more cost-effective than repeatedly repairing it.
V. Maintenance Tips to Prevent “No Hot Water” Scenarios
Regular maintenance can significantly extend the life of your water heater and prevent unexpected cold showers.
- Flush Your Water Heater Annually: This removes sediment buildup that can reduce efficiency and lead to premature failure.
- Check the Anode Rod Every 3-5 Years: The anode rod sacrifices itself to protect the tank from corrosion. Replacing it when it’s depleted can greatly extend the tank’s life.
- Test the T&P (Temperature and Pressure) Relief Valve Annually: Gently lift the lever on the T&P valve for a few seconds until water flows out, then release it. This ensures the valve isn’t seized and can relieve pressure if needed. If it leaks constantly after testing, it needs to be replaced.
- Inspect for Leaks: Periodically check around your water heater for any signs of moisture or leaks.
- Keep the Area Clear: Ensure there’s adequate clearance around your water heater for proper airflow and to prevent fire hazards.
- For Gas Water Heaters: Ensure the combustion air intake screen is clean, and the flue pipe is free of obstructions.
By following this comprehensive guide, you’ll be well-equipped to diagnose and potentially resolve many “no hot water” issues with your water heater. Remember to always prioritize safety and know when it’s time to call in the experts.
Leave a Reply