Finding a puddle under your sink can be a distressing sight, especially when you have a reverse osmosis (RO) system installed. A leaking RO system doesn’t just waste water; it can also lead to mold growth, water damage, and costly repairs. But don’t panic! Most leaks are minor and can be fixed with a little know-how. This guide will help you identify the source of the leak and provide step-by-step instructions on how to fix it. 💧
Initial Steps: The Leak Hunt
Before you can fix the leak, you need to find its origin. A good starting point is to dry the entire area under the sink. Use a towel or paper towels to wipe down the RO system, the tubing, and the floor. Once everything is dry, you can begin your inspection.
Start by looking for visible drips. Pay close attention to the following areas, which are common culprits for leaks:
- Connections: Check all the push-fit and threaded connections. The push-fit fittings are particularly important to inspect. These are the small plastic connectors that hold the tubing in place. Over time, the O-rings inside these fittings can wear out, causing a slow drip.
- Canisters: The filter housings, or canisters, are another common source of leaks. The O-rings that seal the canisters can become dry or misaligned, leading to a leak.
- Faucets: The RO faucet itself can leak from its base or spout.
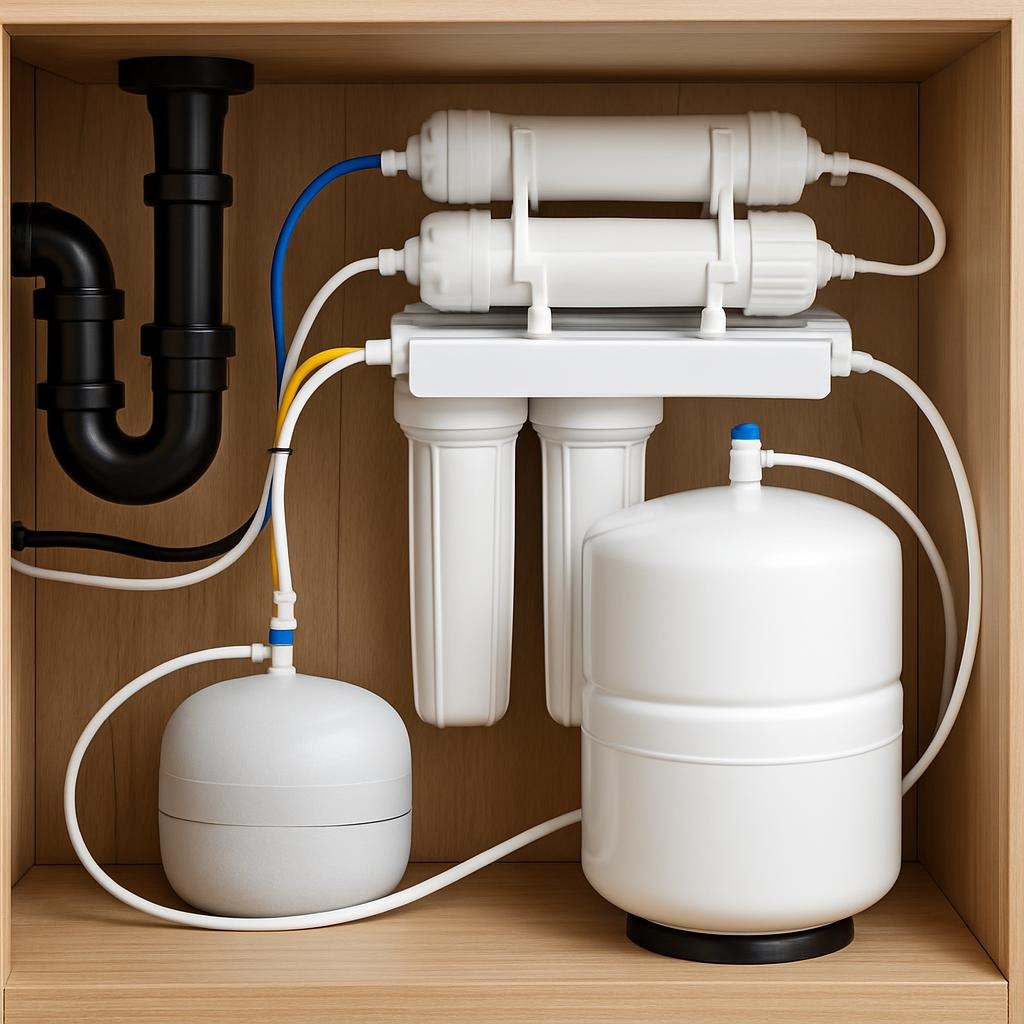
- The Membrane Housing: This is the large cylindrical housing that contains the RO membrane. A leak here often indicates a problem with the cap or the housing’s O-rings.
To make the leak easier to spot, you can place dry paper towels under each of these components. This makes it easier to spot drips and pinpoint the exact location of the leak.
Troubleshooting Common Leaks
Once you’ve identified the source, you can proceed with the fix. Here are some of the most common leak scenarios and how to resolve them.
Leaking Push-Fit Connections
Push-fit connections are designed for quick and easy installation, but they can be prone to leaks if not installed correctly or if the tubing is damaged.
- Shut off the water supply. Locate the cold water line valve under the sink and turn it off. This is a crucial first step for any repair.
- Release the pressure. Open the RO faucet to release any pressure in the system.
- Inspect the tubing. Carefully examine the end of the tubing that goes into the fitting. Look for any nicks, scratches, or uneven cuts. If the tubing is damaged, you’ll need to cut a clean, straight end using a specialized tubing cutter.
- Re-seat the tubing. Push the clean, straight end of the tubing firmly into the push-fit connection. You should feel it “click” into place. Give it a gentle tug to ensure it’s securely seated.
- Check for O-ring issues. If the leak persists, the O-ring inside the fitting might be damaged. You can purchase replacement O-rings from most hardware stores or online.
Leaking Filter Housings
Leaks from the filter canisters are almost always due to a problem with the O-ring seal.
- Turn off the water supply and release the pressure.
- Unscrew the canister. Use a filter wrench to unscrew the leaking canister.
- Inspect and replace the O-ring. Carefully remove the old O-ring and clean the groove it sits in. Check the O-ring for any cracks, stretching, or nicks. It’s often best to replace it with a new one. Before installing the new O-ring, apply a thin layer of food-grade silicone lubricant. This helps create a better seal and prevents it from drying out.
- Screw the canister back on. Hand-tighten the canister, then use the wrench for a final quarter-turn. Be careful not to overtighten, as this can damage the housing or the O-ring.
Leaking RO Faucet
A leaking RO faucet is typically a straightforward fix.
- Turn off the water and release the pressure.
- Check the connections. Inspect the connection where the tubing meets the faucet’s shank. This is a common point of failure.
- Tighten the nut. If the leak is from the base of the faucet, the mounting nut under the sink might be loose. Use a wrench to tighten it.
- Replace the faucet. If the leak is from the spout or the handle, the internal components are likely worn out. In this case, it’s often more economical to replace the entire faucet rather than trying to repair it.
Final Check and Prevention
After you’ve performed the repair, slowly turn the water supply back on and check for any new leaks. Give the system a few minutes to repressurize, and keep a close eye on all connections.
To prevent future leaks, remember to lubricate the O-rings during your routine filter changes. Regular maintenance and proper installation are the best defenses against a leaky RO system.
Leave a Reply